
Using a moisture meter properly is key to getting reliable readings for detect water leak in wall, checking moisture meter for wood, or general home moisture testing. Whether you're using a pinless moisture meter or pin-type, small errors can lead to false alarms or missed issues like hidden mold risks.
This 2026 guide walks you through the correct steps, calibration tips, common pitfalls, and pro techniques — with examples using the Kiprim WM01 pinless model for damage-free home use.
Correct Step-by-Step: How to Use a Moisture Meter
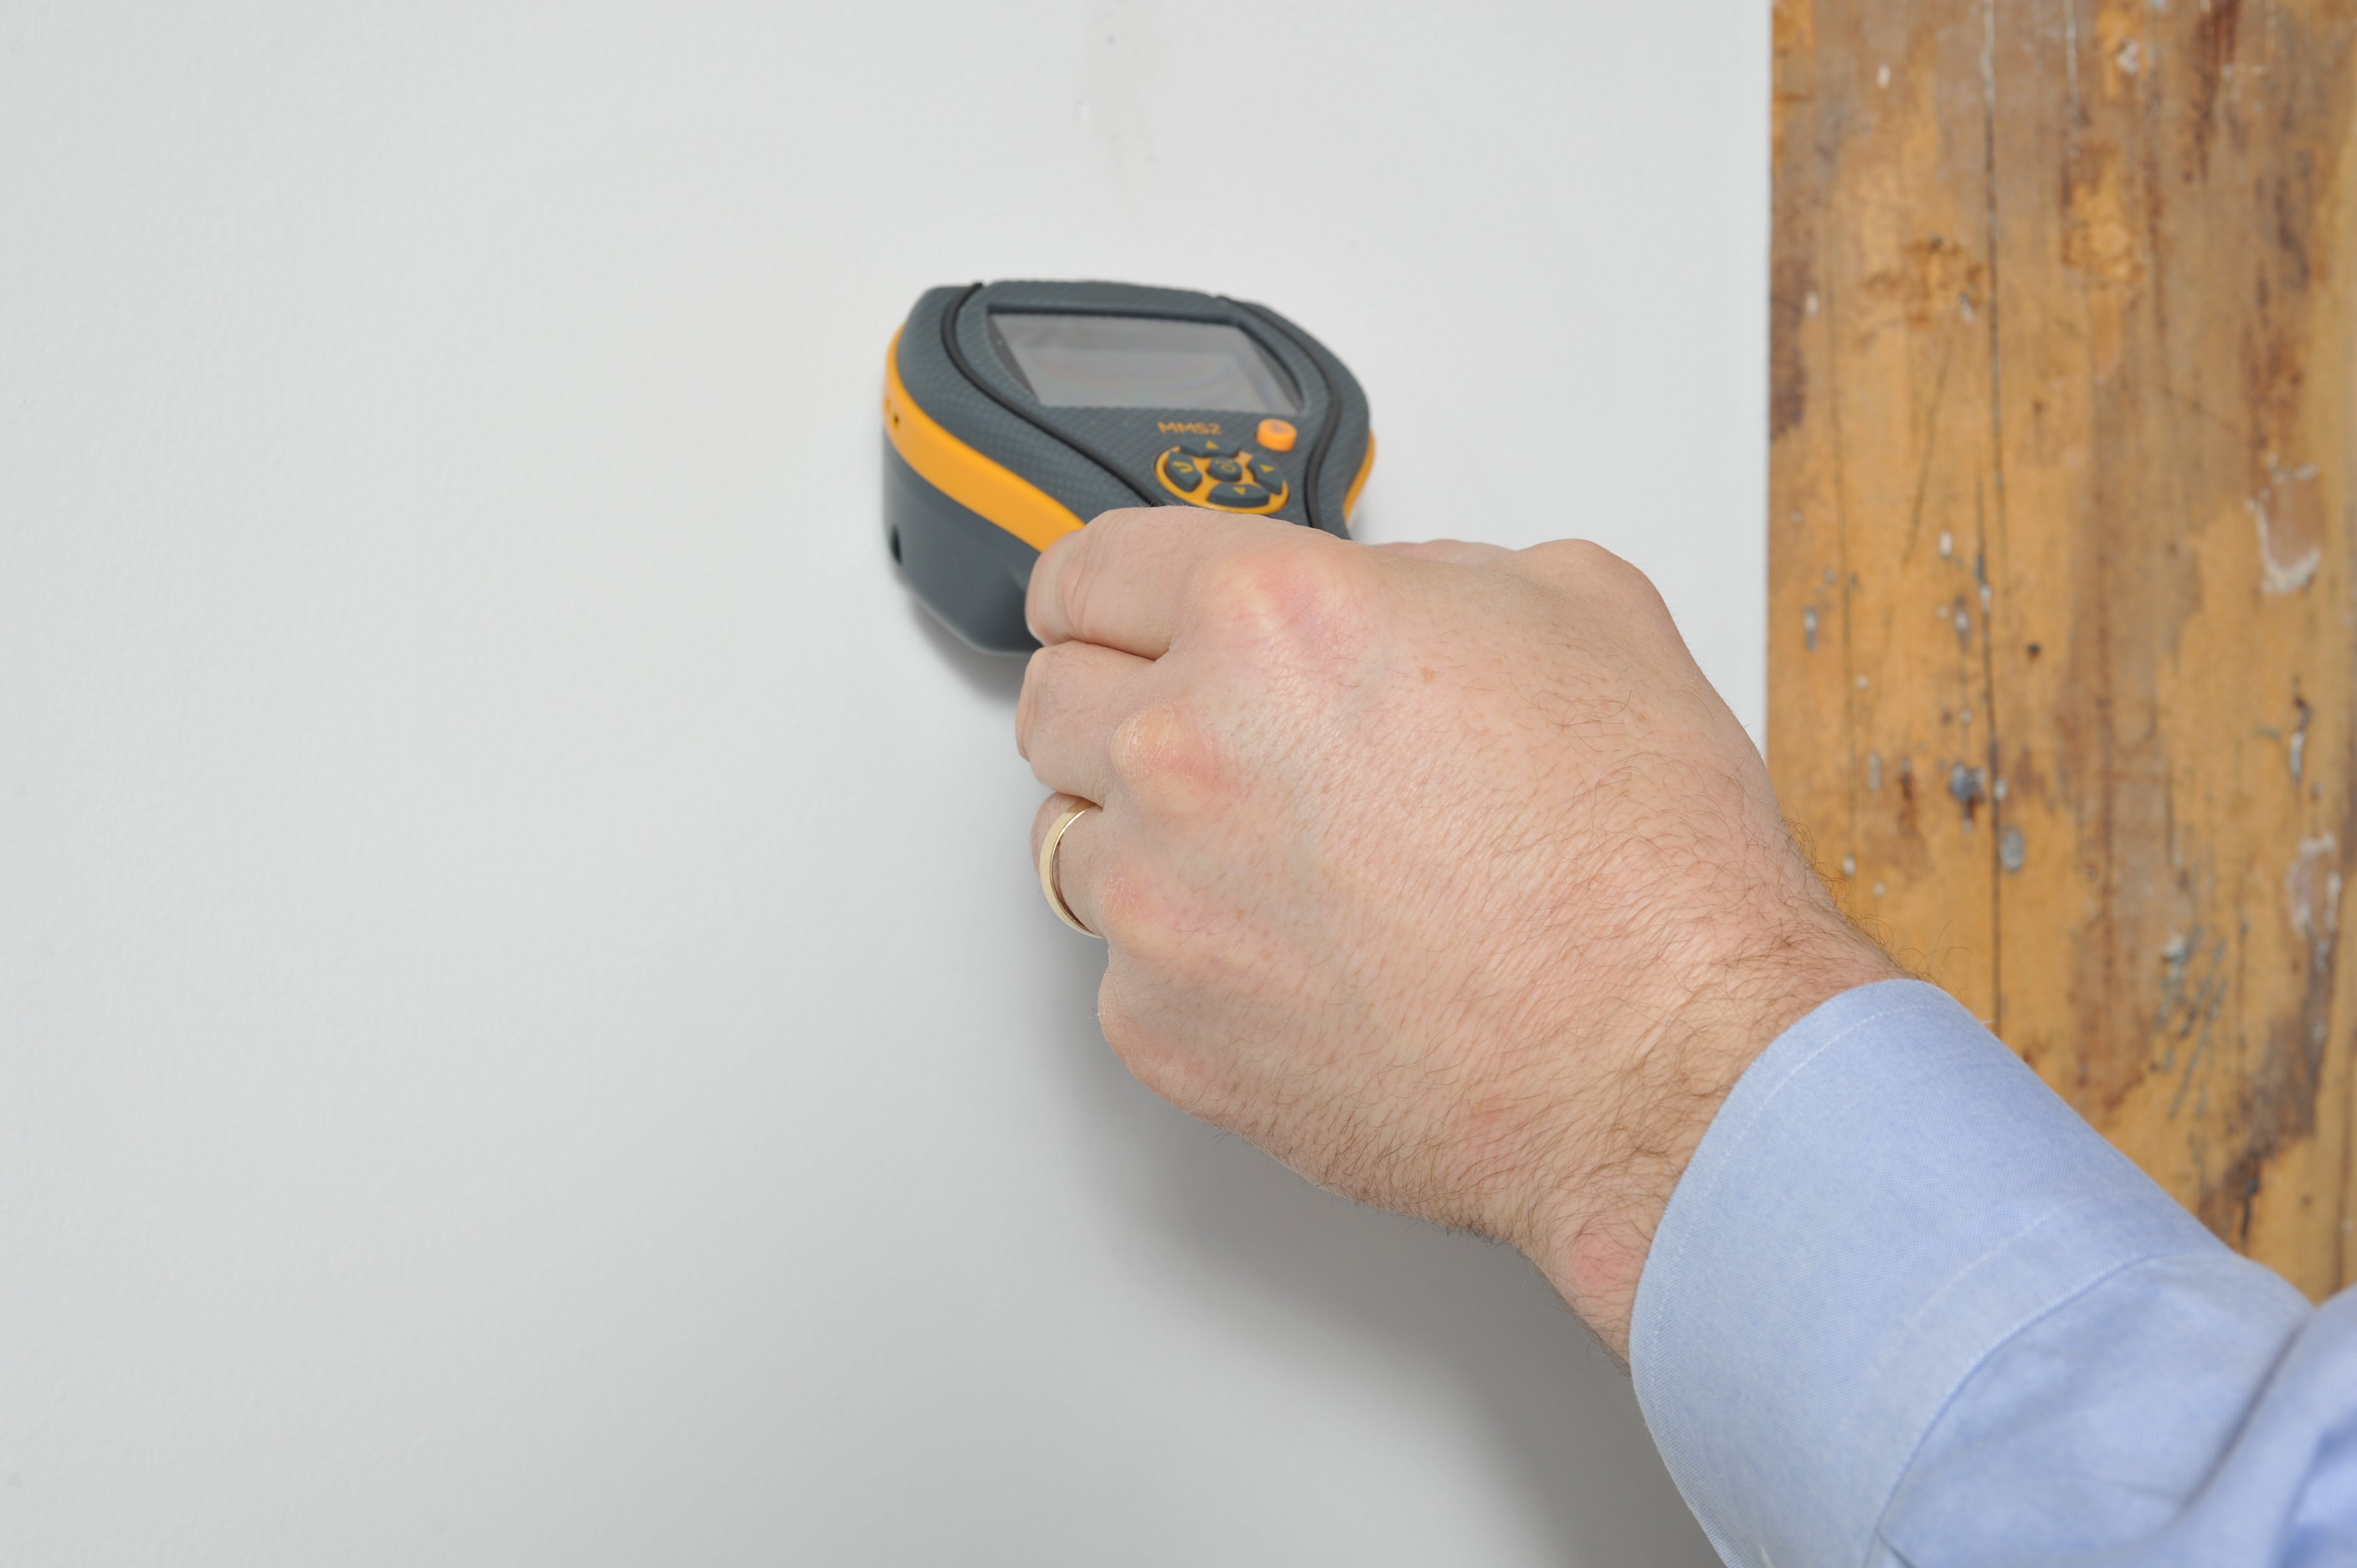
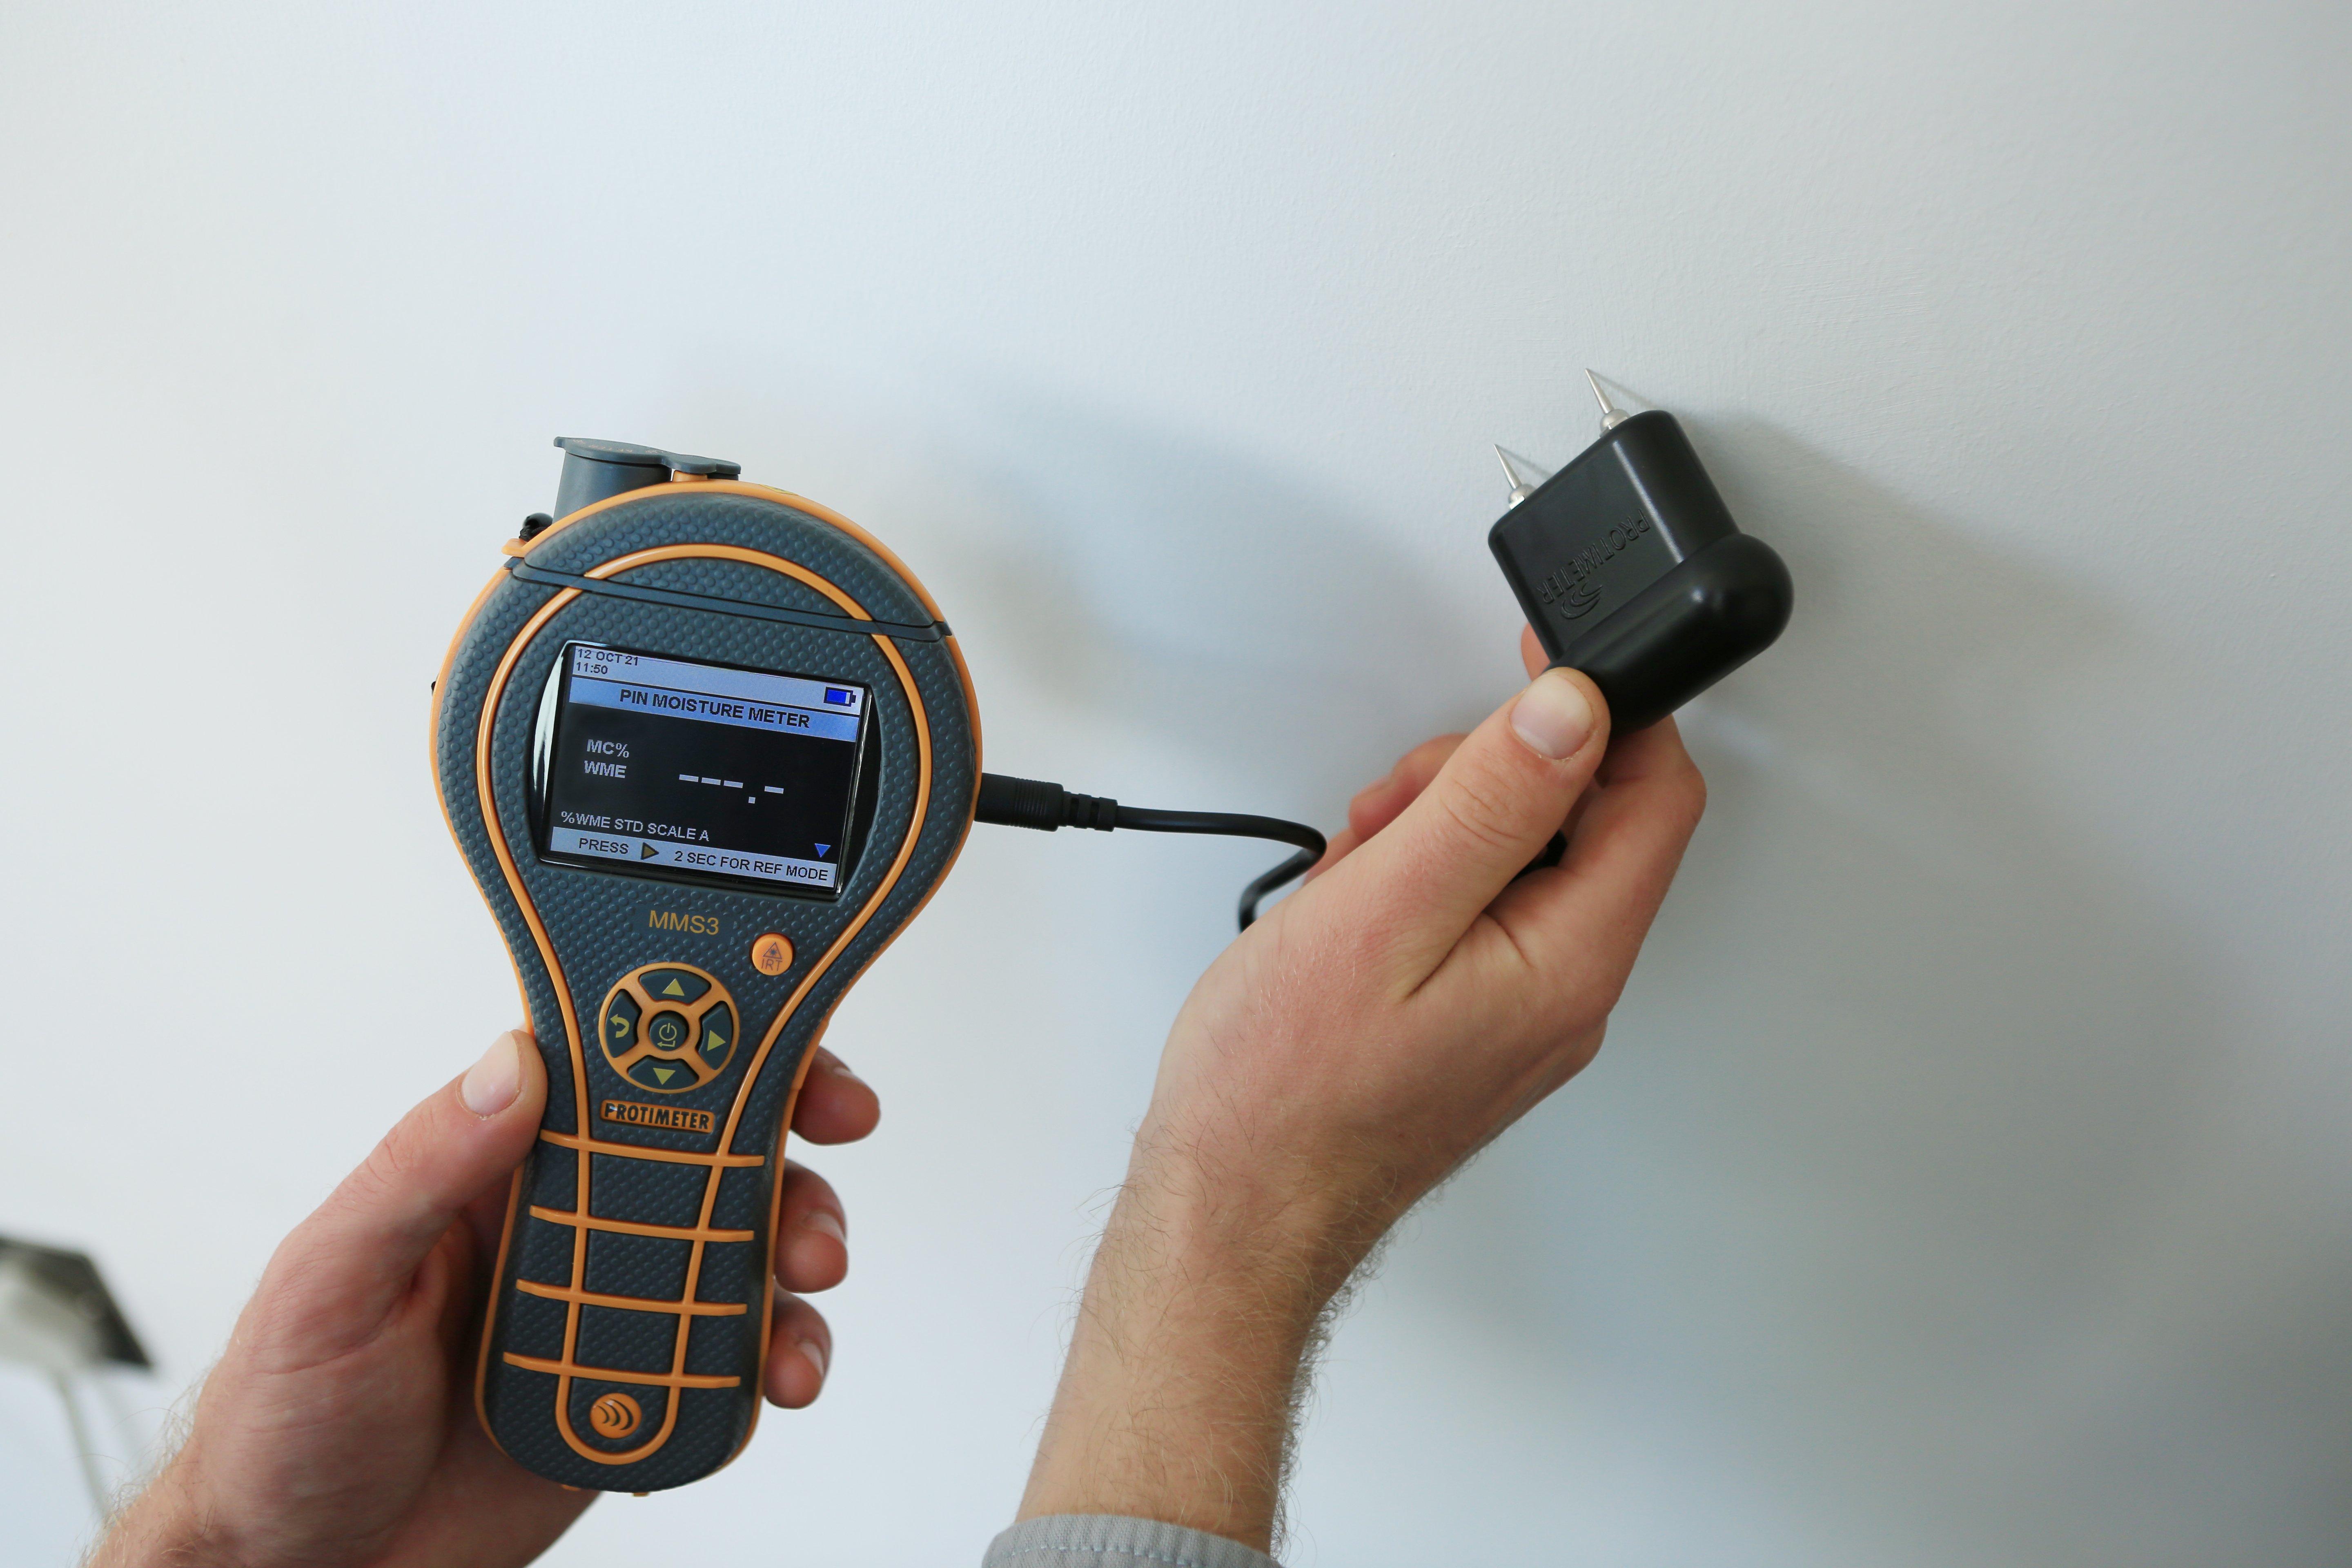
- Power On and Select Mode Turn on the device. For pinless models like the Kiprim WM01, choose the right material mode: Wall (drywall/plaster), Masonry, Soft Wood, or Hard Wood. This adjusts calibration for accurate % readings.
- Calibrate in Air (Baseline Check) Hold the meter in the air (away from surfaces/objects) for 5–10 seconds. Most auto-calibrate to ~0%. This resets the sensor and prevents drift.

- Take a Reference Reading on a Known Dry Area Scan a clearly dry spot (e.g., upper interior wall far from plumbing). Normal drywall: <1–5%; wood: 6–12%. Record this baseline for comparison.
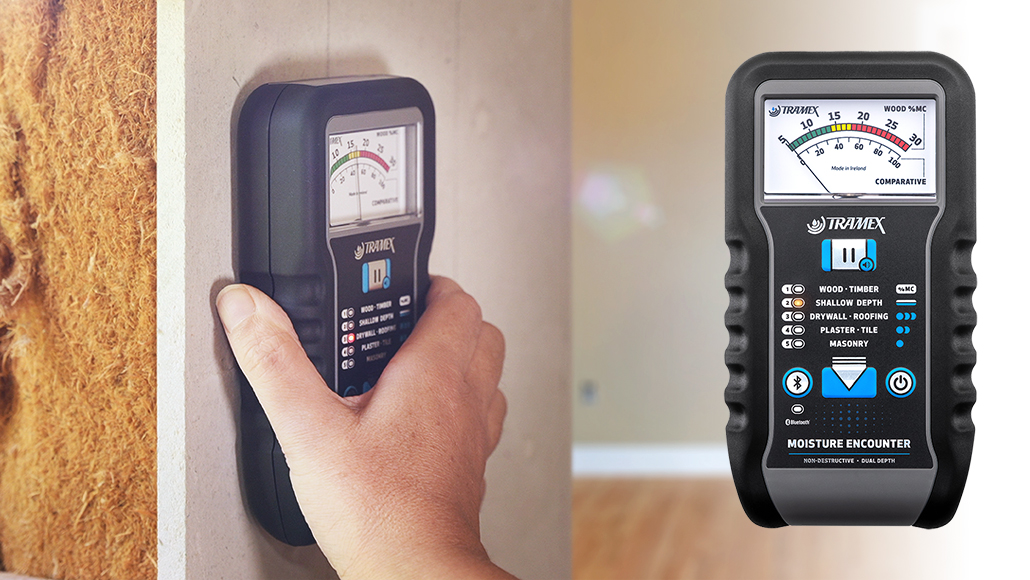
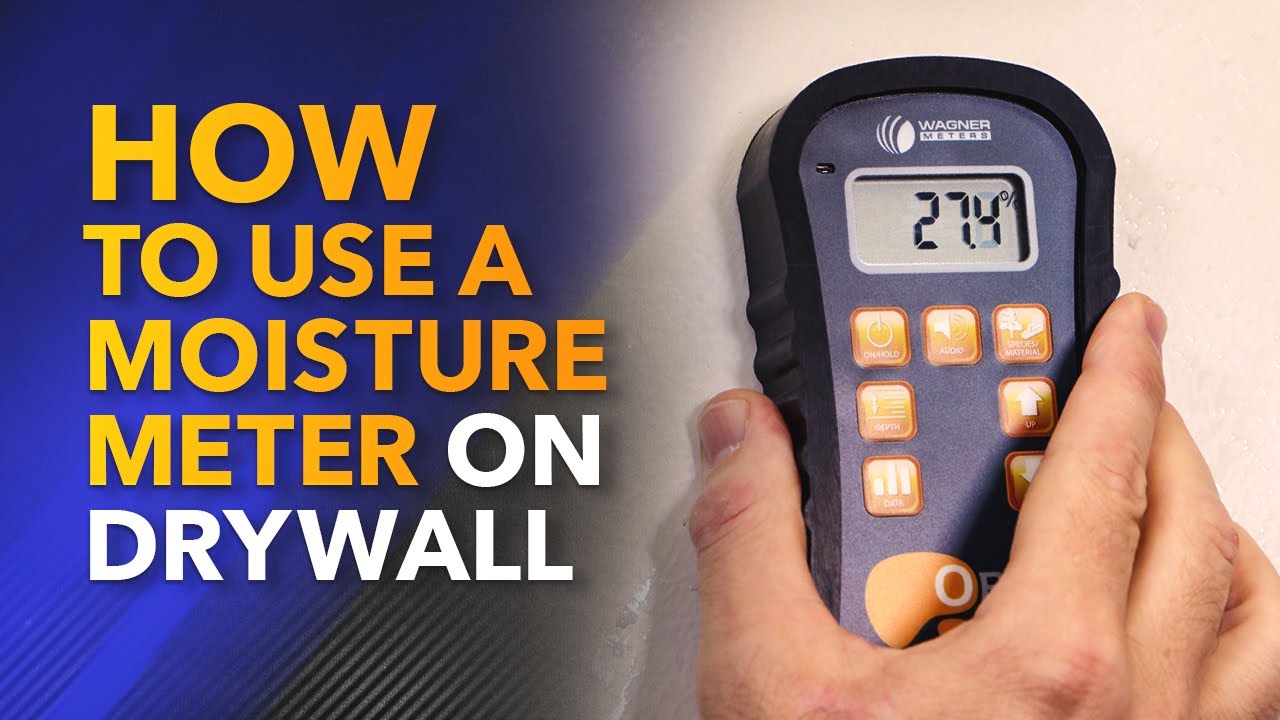
- Scan the Target Area Press the sensor flat against the surface (full, even contact — no tilting). Move slowly in a grid (horizontal/vertical lines, 6–12 inches apart). Take 5–10 readings per zone and average them. Use data hold to freeze values.
-
Interpret Results & Alert
- Green/Dry: Safe (e.g., <8–12% depending on material)
- Yellow/Mid: Investigate (possible early dampness)
- Red/Wet: High moisture — address source immediately Audible/visual alarms (beep + color/red light) alert you instantly.
- Power Off & Store Turn off to save battery; store in a dry case.
Calibration Methods for Best Accuracy
- Auto-Calibration: Most pinless meters (including Kiprim WM01) auto-zero in air when powered on.
- Manual Check: Test on a known dry reference material if available.
- Environmental Adjustment: Calibrate in the same room conditions (temperature/humidity) as your scan — avoid extreme cold/heat.
- Periodic: Re-check baseline every few uses or if readings seem off.
5 Common Mistakes & How to Avoid Them
- Skipping Calibration → Leads to drifted/false highs. Always air-calibrate first.
- Poor Sensor Contact → Uneven pressure or gaps cause low/inaccurate readings. Press firmly and flat.
- Ignoring Material Mode → Using "Wood" on drywall skews % wildly. Match mode to surface.
- Scanning Over Interference → Metal studs, wires, outlets, or wet surfaces spike readings. Avoid these; test nearby dry spots for comparison.
- Single Reading Reliance → One spot isn't enough — always grid-scan and average multiple points.
Tips to Boost Accuracy & Get Pro-Level Results
- Take multiple readings and average for reliability.
- Scan in consistent conditions (room temp 60–80°F ideal).
- Use mute if alarms are distracting (WM01 has this).
- Clean sensor pad regularly (dust affects pinless scans).
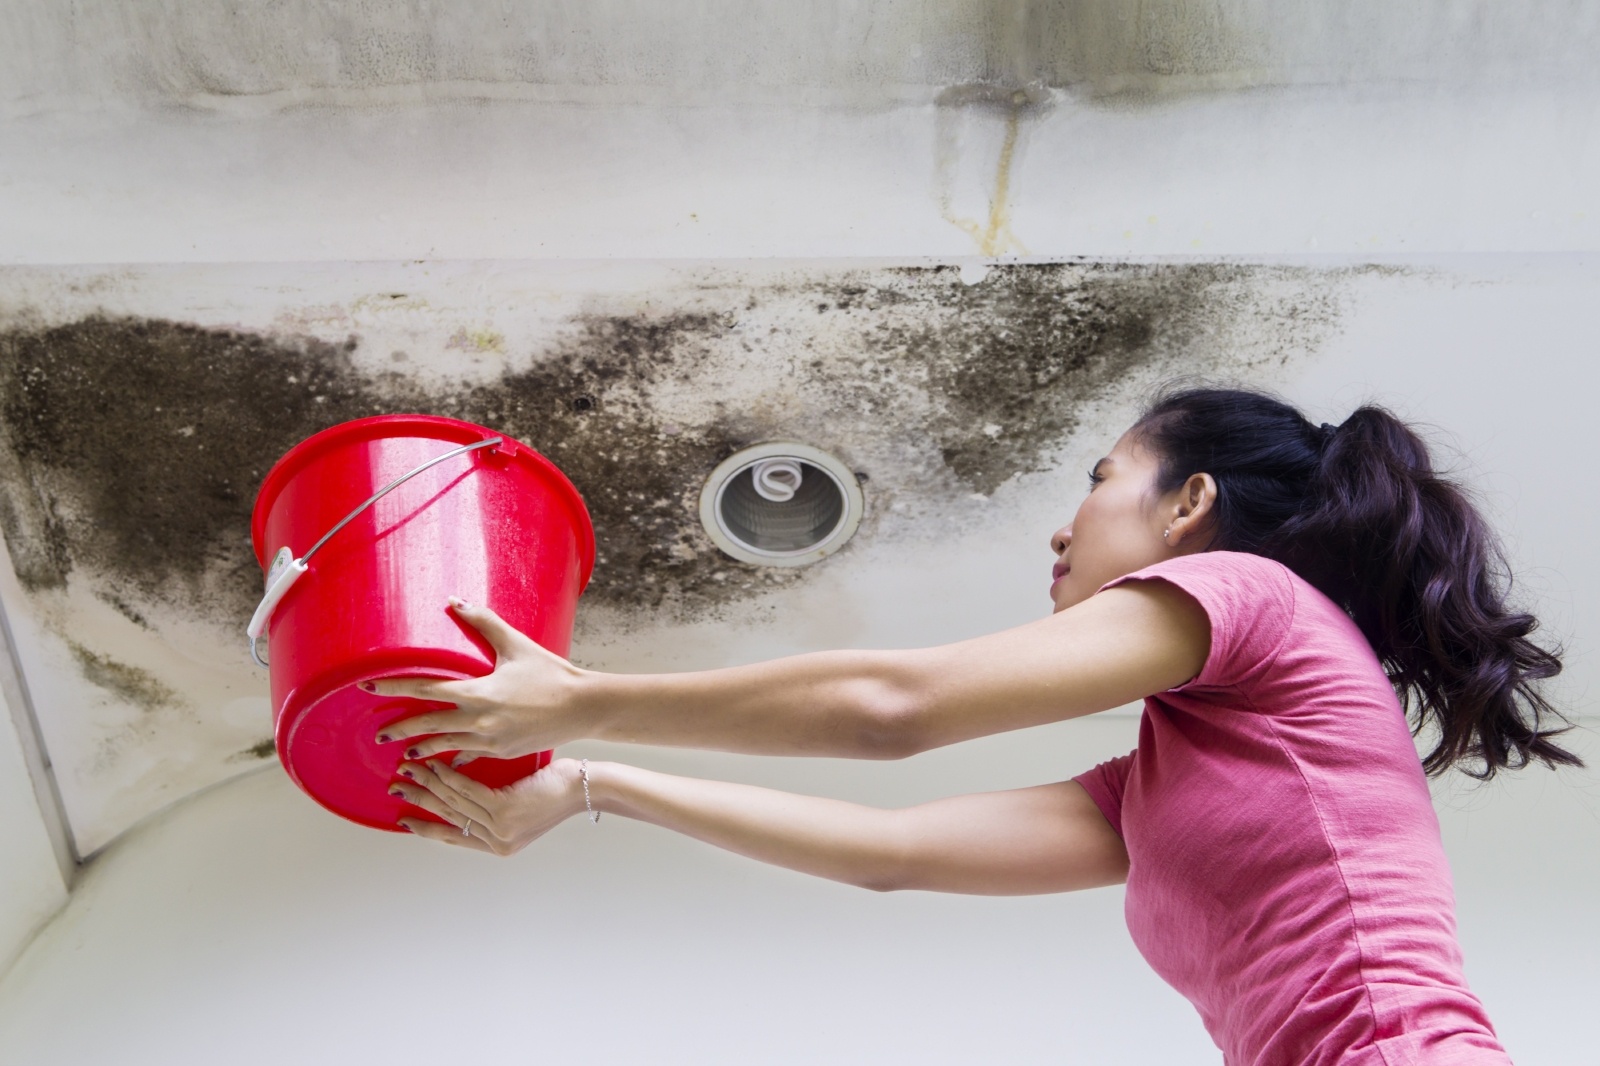
- Cross-check with visual signs (peeling paint, musty smell).
- For home moisture tester needs, pinless like WM01 excels — no damage, fast broad scans.
Kiprim WM01 Pinless Example in Action The Kiprim WM01 makes it simple: Select mode (e.g., Wall), air-calibrate, press to surface, and watch the large LCD show % with color bars + alarm. Data hold freezes readings, mute silences beeps, and high-precision sensor responds quickly. Perfect for moisture meter for walls or detect water leak in wall without marks.


Get yours here: Kiprim WM01 Pinless Moisture Meter
Master these steps and you'll catch issues early — saving time, money, and headaches. Trying this on a specific area (basement wall, firewood)? Share your setup for extra tips! 🔍
0 comments